Winter Deals! Free shipping over $2999
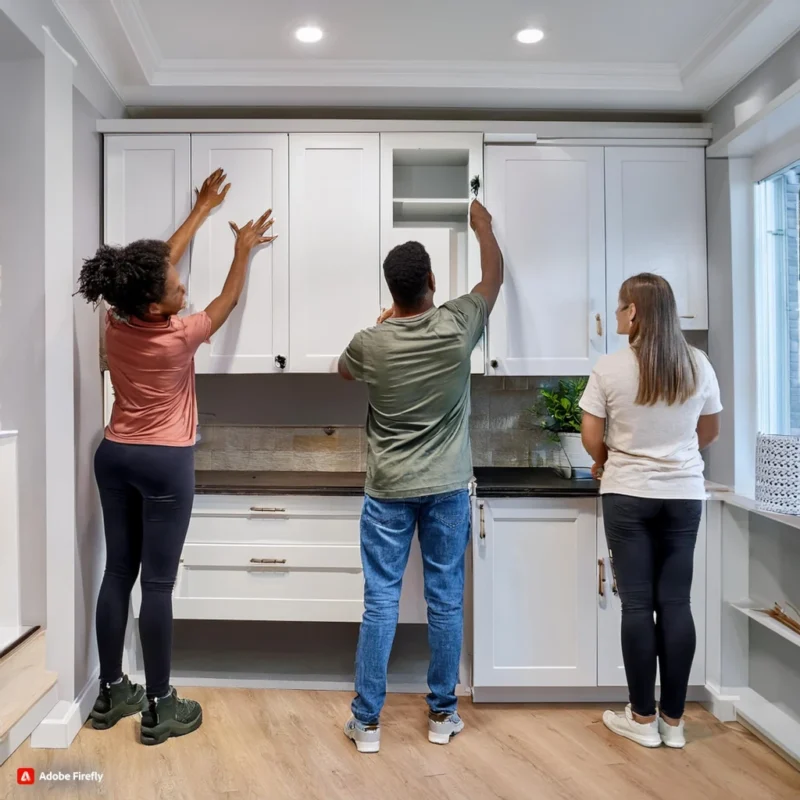
Introduction: Installing kitchen cabinets yourself can be a rewarding project that saves money and gives your kitchen a fresh new look. This guide provides a detailed, step-by-step approach to installing both base and wall cabinets, helping you achieve a professional finish.
1. Preparation:
a. Gather Tools and Materials:
- Tools Needed: Tape measure, level, drill, screwdriver, cabinet screws, shims, stud finder, pencil, and safety gear.
- Materials Needed: Cabinets, cabinet hardware, adhesive, and any trim or molding you plan to use.
b. Prepare Your Kitchen Space:
- Clean the Area: Remove old cabinets, appliances, and any debris from the area where you’ll be working.
- Check for Level and Plumb: Use a level to ensure that the walls and floor are level and plumb. Address any irregularities before installing new cabinets.
c. Plan Your Layout:
- Layout Plan: Refer to your design plan and measurements to place cabinets according to the layout. Mark locations on the wall with a pencil.
2. Installing Base Cabinets:
a. Locate and Mark Studs:
- Method: Use a stud finder to locate wall studs where base cabinets will be mounted. Mark these locations with a pencil.
- Tip: Ensure the studs are evenly spaced and can support the weight of the cabinets.
b. Level and Secure Base Cabinets:
- Method: Position the first base cabinet on the floor and use a level to ensure it’s perfectly horizontal.
- Securing Cabinets: Attach the cabinet to the wall using screws into the studs. If needed, use shims to make up for any gaps and ensure the cabinet is level.
c. Align and Attach Additional Cabinets:
- Method: Continue installing additional base cabinets, aligning them with the first cabinet and ensuring each one is level.
- Tip: Use cabinet clamps to hold cabinets together while securing them.
d. Install Cabinet Doors and Hardware:
- Method: Attach doors to the cabinets, following the manufacturer’s instructions. Install handles and knobs, ensuring they are aligned and securely fastened.
3. Installing Wall Cabinets:
a. Prepare Wall Cabinet Mounting:
- Method: Locate the wall studs where the wall cabinets will be installed. Mark the positions with a pencil.
- Tip: Use a level to mark a horizontal line where the bottom of the wall cabinets will sit.
b. Mount Wall Cabinets:
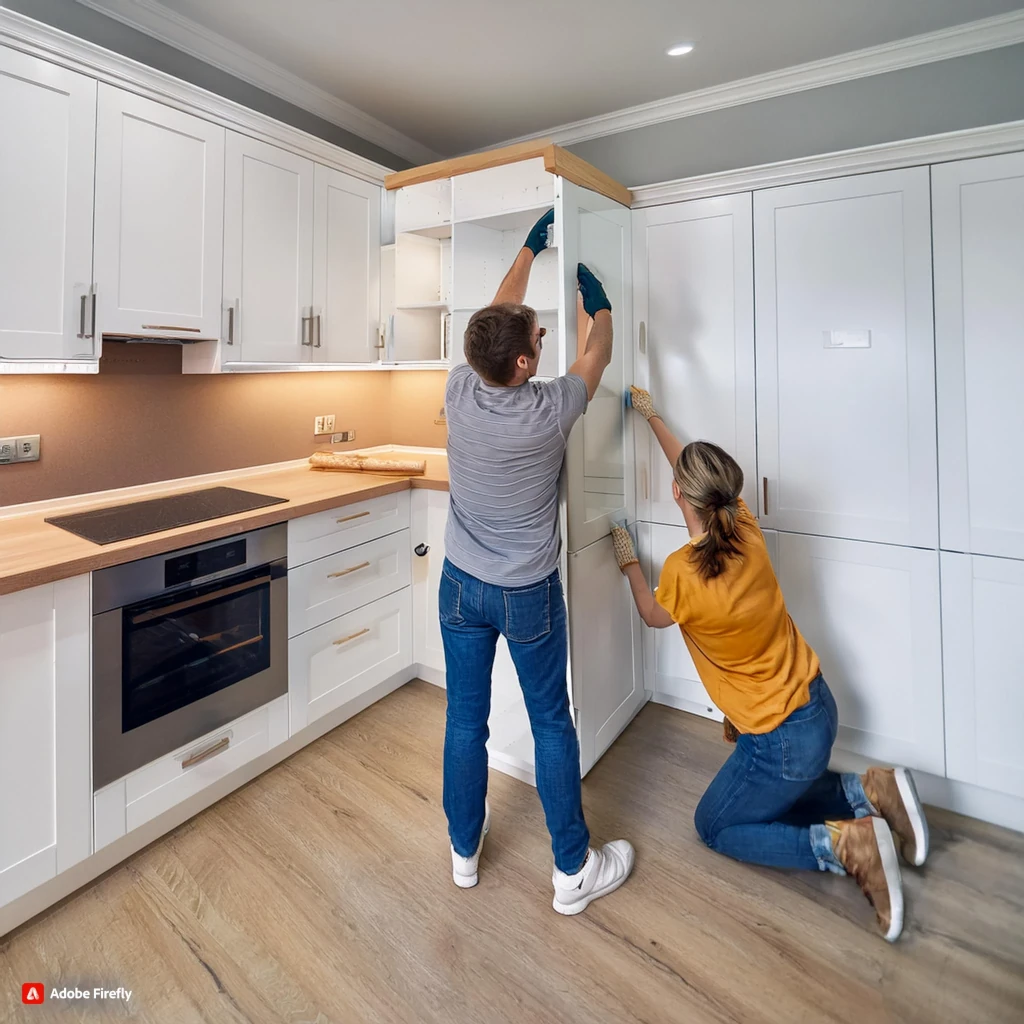
- Method: Lift the wall cabinets into position and secure them to the wall studs using screws. Ensure they are level and plumb.
- Securing Cabinets: Use cabinet screws to attach the cabinets to the wall, adjusting with shims if necessary.
c. Align and Attach Additional Wall Cabinets:
- Method: Install additional wall cabinets, ensuring they are aligned with the first cabinet. Secure them together with screws.
- Tip: Use a cabinet jack or assistant to hold the cabinets in place while you secure them.
d. Adjust Doors and Hardware:
- Method: Adjust cabinet doors to ensure proper alignment and gaps. Attach handles and knobs.
4. Adjustments and Final Touches:
a. Install Cabinet Trim and Molding:
- Method: Measure and cut trim or molding to fit around the cabinets. Attach using a nail gun or adhesive.
- Tip: Fill any gaps or nail holes with wood filler and sand smooth before painting or staining.
b. Make Necessary Adjustments:
- Method: Check for any gaps or irregularities between cabinets and walls. Make adjustments or add filler panels if needed.
- Tip: Ensure all cabinets are securely attached and level.
c. Final Inspection:
- Method: Inspect the installation to ensure everything is level, securely attached, and properly aligned.
- Tip: Test cabinet doors and drawers for smooth operation.
Conclusion: Installing kitchen cabinets yourself can be a challenging but rewarding project. By following these detailed steps, you can achieve a professional-looking installation and transform your kitchen. Careful preparation, accurate measurements, and attention to detail are key to a successful DIY cabinet installation. Enjoy your new kitchen space and the satisfaction of a job well done!
