Winter Deals! Free shipping over $2999

Introduction: Installing cabinet hardware might seem like a small detail, but it can make a significant difference in the overall look and functionality of your kitchen. This guide provides comprehensive tips and tricks for installing cabinet handles, knobs, and pulls to achieve a polished, professional finish.
1. Choosing the Right Hardware:
a. Style and Design:
- Match with Cabinet Style: Choose hardware that complements your cabinet style—modern, traditional, rustic, or contemporary. For example, sleek metal handles suit modern designs, while antique brass knobs work well with traditional cabinetry.
- Finish Options: Consider various finishes like polished chrome, brushed nickel, or matte black. Each finish can impact the cabinet’s aesthetic and overall kitchen decor.
b. Functionality:
- Ease of Use: Ensure the hardware is comfortable to use and easy to grip. Larger handles may be more practical for frequently used cabinets.
- Durability: Opt for hardware made from high-quality materials that can withstand daily use. Metal options are generally more durable than plastic.
2. Measuring and Marking:
a. Hardware Placement:
- Standard Heights: For cabinet doors, place handles or knobs about 2.5 to 3 inches from the edge. On drawers, position them centrally or according to personal preference.
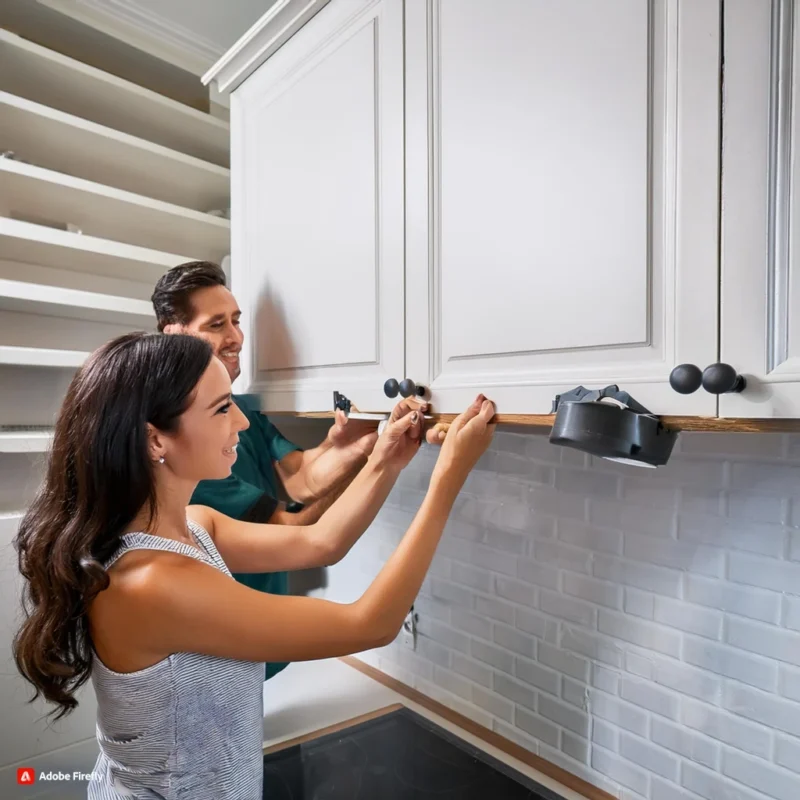
- Template Use: Utilize a hardware template to ensure consistent placement across all cabinets. Templates can help achieve uniform spacing and alignment.
b. Drilling Holes:
- Accurate Drilling: Mark the drilling points carefully using a pencil. A drill guide or jig can assist in maintaining alignment and preventing errors.
- Drilling Technique: Use a drill bit that matches the size of the screws provided with your hardware. Drill slowly to avoid splitting the wood.
3. Installing Hardware:
a. Attaching Knobs and Handles:
- Secure Attachment: Insert screws through the back of the cabinet and into the hardware. Tighten screws firmly but avoid over-tightening, which can damage the cabinet.
- Alignment Checks: After attaching, ensure that the hardware is straight and aligned. Adjust as needed before fully securing.
b. Aligning Hardware:
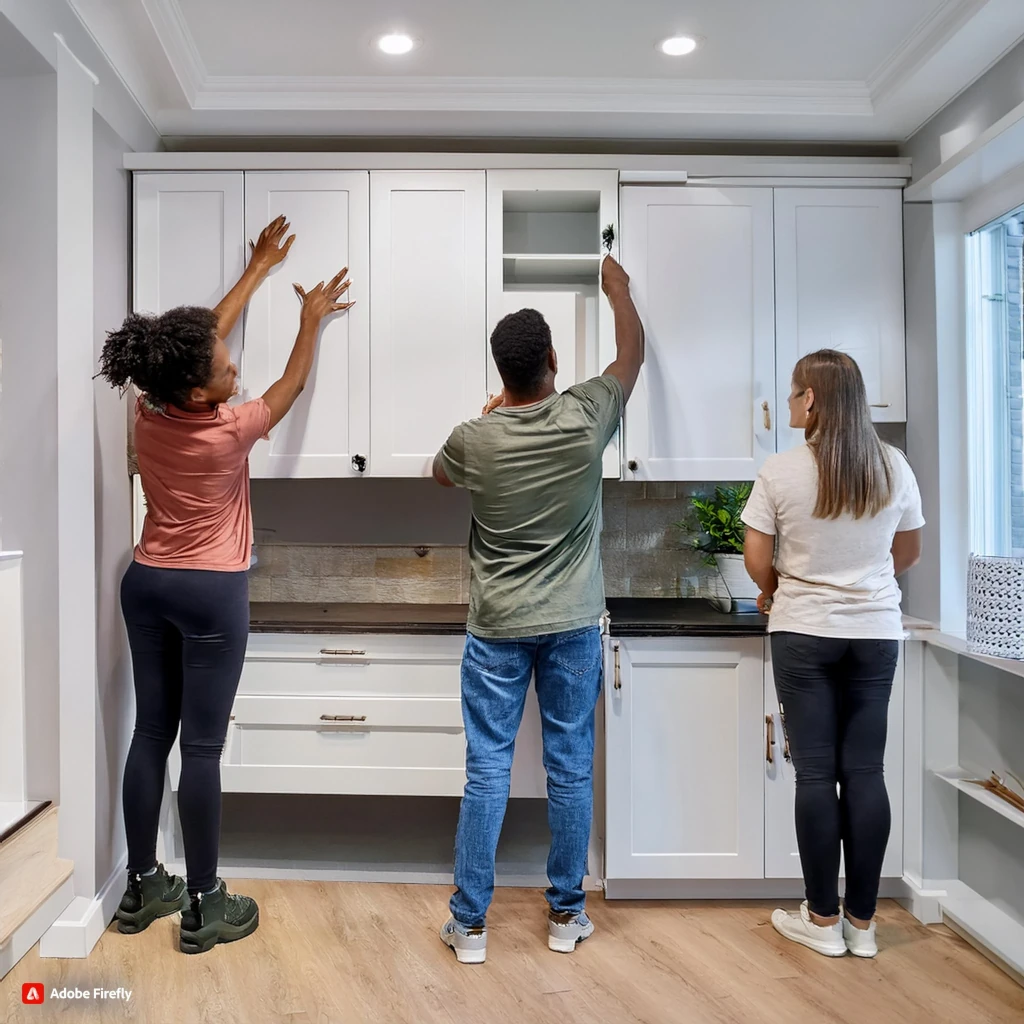
- Consistency: Use a level or measuring tool to check alignment of handles and knobs. Misalignment can create an uneven appearance and affect functionality.
- Positioning: For cabinets with multiple handles, ensure that they are spaced evenly to achieve a cohesive look.
4. Finishing Touches:
a. Cleaning and Maintenance:
- Regular Cleaning: Wipe down hardware with a soft cloth to remove dust and fingerprints. Avoid harsh chemicals that may damage the finish.
- Inspecting Hardware: Periodically check for loose screws or signs of wear and tighten or replace as necessary.
b. Adjustments:
- Fine-Tuning: If hardware feels loose or misaligned after installation, make small adjustments to ensure everything is secure and functional.
- Addressing Issues: If you notice any gaps or irregularities, consider using trim or filler to cover minor imperfections.
5. Common Mistakes and How to Avoid Them:
a. Misalignment:
- Avoiding Errors: Double-check measurements and alignment before drilling. Use a template for consistent results.
- Correction Tips: If hardware is misaligned, carefully remove and reposition it. Fill any extra holes with wood filler if needed.
b. Incorrect Measurements:
- Accuracy: Measure twice before drilling to ensure proper placement. Double-check the spacing and alignment for a uniform appearance.
- Tools: Use a measuring tape and level to ensure precise measurements and accurate placement.
Conclusion: Properly installing cabinet hardware can significantly enhance the look and functionality of your kitchen. By carefully selecting hardware, measuring accurately, and following installation tips, you can achieve a professional finish that complements your kitchen design. Enjoy the transformation and functionality that new cabinet hardware brings to your DIY project.


