Winter Deals! Free shipping over $2999

Properly securing stock cabinets to walls is crucial for ensuring both safety and durability. Following best practices during installation will help prevent issues such as cabinet sagging or detachment, ensuring a professional and lasting result.
The first step in securing stock cabinets is locating the wall studs. Wall studs provide the necessary support for the weight of the cabinets and their contents. Use a reliable stud finder to locate the studs and mark their positions with a pencil. Typically, studs are spaced 16 inches apart, but this can vary depending on the construction of the home.
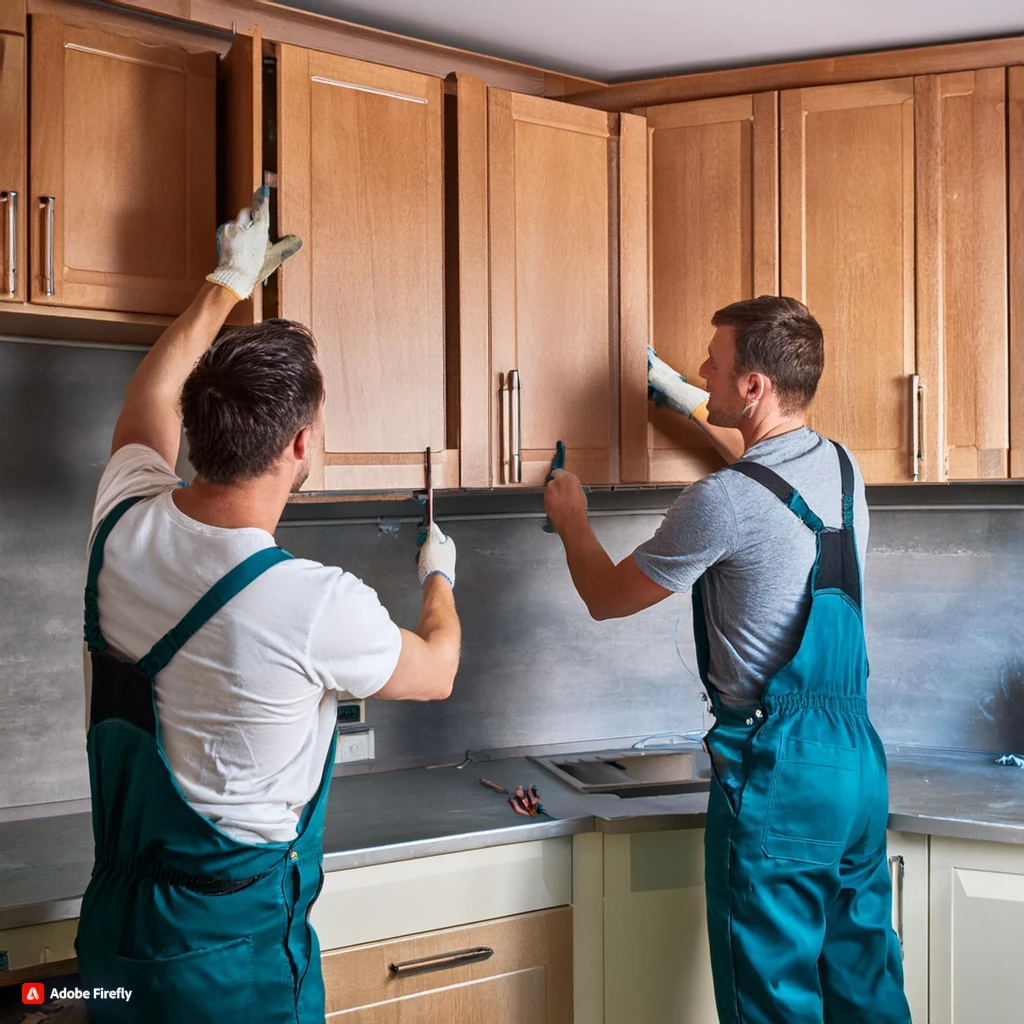
When installing upper cabinets, begin by using a ledger board for temporary support. A ledger board is a straight piece of wood that you attach to the wall at the desired height of the bottom of the cabinets. It acts as a temporary shelf, holding the cabinets in place while you secure them to the wall. This ensures that the cabinets remain level and stable during installation. Attach the ledger board securely to the wall studs to support the weight of the cabinets.
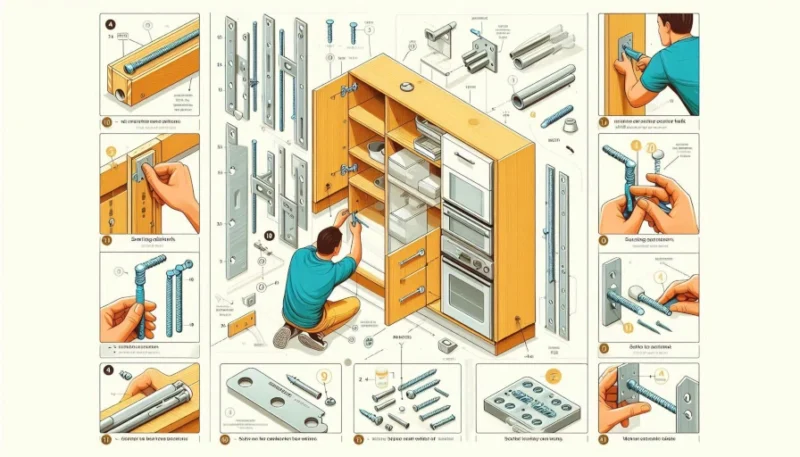
Drill pilot holes through the cabinet back into the wall studs before inserting screws. This step prevents the wood from splitting and ensures a secure fit. Use cabinet screws, which are longer and more robust than standard screws, to anchor the cabinets to the studs. Drive the screws through the cabinet’s hanging rails, ensuring they penetrate the studs fully for maximum support. For added stability, use at least two screws per stud.
When installing base cabinets, ensure they are level before securing them to the wall. Uneven floors can cause cabinets to sit crooked, leading to misaligned countertops and drawers that don’t function properly. Use shims to level the base cabinets as needed. Place a level on top of the cabinets and adjust the shims until the cabinets are perfectly horizontal. Once the cabinets are level, secure them to the wall studs using cabinet screws, following the same pilot hole method as with the upper cabinets.
For both upper and base cabinets, it’s important to join the cabinet units together. Clamp the adjacent cabinets together and drill pilot holes through the adjoining frames. Use screws to secure the cabinets to each other, ensuring a tight and seamless fit. This step not only improves stability but also enhances the overall appearance by minimizing gaps between the units.
In conclusion, following these best practices for securing stock cabinets to walls ensures a safe, stable, and professional installation. By locating wall studs, using ledger boards for upper cabinets, leveling base cabinets with shims, and joining adjacent units, you can achieve a durable and aesthetically pleasing result. Proper installation techniques are essential for the longevity and functionality of your kitchen cabinets, providing peace of mind and satisfaction for your clients.


